"Thank You" is a saying that is bore within us since toddlerhood. It's used much more by adults than children, but they catch on in time :) It's a saying that makes the one's we love, know we appreciate what they do. There's something about getting a "Thank You" the makes us feel like we've done something, something good for someone else. It's a great feeling, isn't it!?
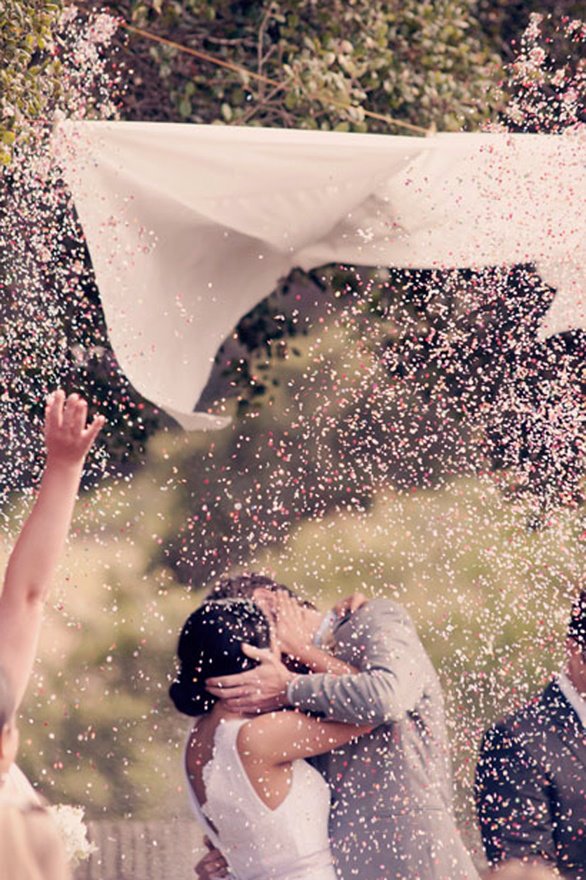
Here are some thank you signs I've made recently....these are great for wedding photos where the bride and groom hold them for the photographer to later use as their thank you cards.
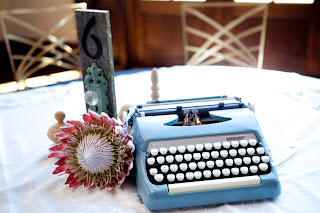
What's also great about these is that you can use them on your favor table, not just at your wedding but at Birthday Parties, Anniversary Parties, etc.
The chalk board signs are great because you can use these during the holidays for sayings such as "Give Thanks" for thanksgiving "Merry Christmas" for Christmas ,obviously, and so on and so on....


You will never ever guess how I made the chalkboard thank you's, and I'm almost embarrassed to say...BUT, I will anyway. I have three kids so I make a LOT of frozen pizza. What does pizza have to do with anything, you ask?.... oh just wait. So, I'm taking the pizza out of the package and after placing the pizza in the oven, I was left with these perfectly oval pieces of cardboard. "Why not paint them with chalkboard paint and use as sweet little signs?", I thought, and so I did....too funny, huh? Recycling at it's best.
The burlap sign was a little more complicated, I actually had to work at these :).
supplies you will need:
Burlap
Scissors
Paint
Hemp String
Hot Glue Gun
1. Cut your burlap into the size that you want and use one as a guide for the rest.
Make enough to spell out the wording that you want
2. Find a pretty font on your computer, print it out in "bold" at the size that you want it to be on your burlap squares.
3. Place the printed font that you like behind the burlap squares one letter at a time, one piece of burlap at a time.
4. Get some paint (I used black tempura paint here), and trace the letters onto the burlap.
6. After dry, get some hemp string and hot glue the burlap onto the string.
Hope you enjoy, and remember your please and thank you's :)